Table of Contents
Advertisement
Available languages
Available languages
Quick Links
Advertisement
Chapters
Table of Contents

Summary of Contents for KitchenAid 528534
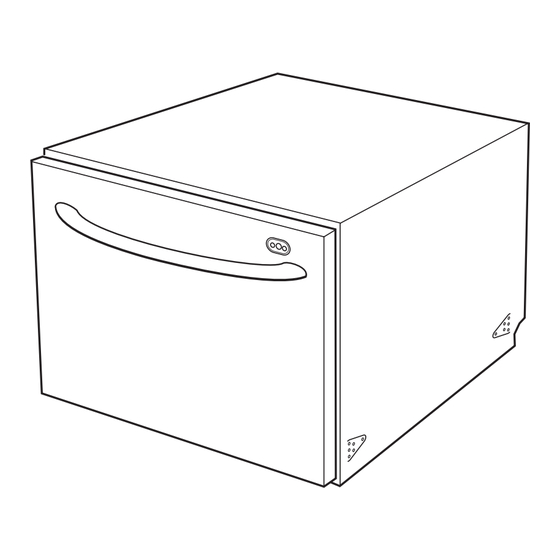
- Page 1 ® HOME APPLIANCES Installation Instructions Single Drawer Dishwasher Instructions d'installation Lave-vaisselle à tiroir unique Table of Contents/Table des matières...2/11 528534/8573714B...
-
Page 2: Table Of Contents
If Installing Flexible Trim Pieces..... . . 5 Install Dishwasher ....... . . 5 Install the Drain Hose. -
Page 3: Installation Requirements
■ This dishwasher is manufactured for indoor use only. ■ Install the dishwasher in a cabinet cutout that is level, will hold weight up to 104 lbs. (47 kg), and is in an area suitable for its size and use. -
Page 4: Water Supply Requirements
Do not modify the plug provided with the dishwasher: if it will not fit the outlet, have " (2.5 mm) a proper outlet installed by a qualified electrician. -
Page 5: Installation Instructions
IMPORTANT: Push against the outside edges of drawer as shown. Do not push against the center of the drawer. 4. As the dishwasher is being pushed into the opening, slowly pull the power supply cord, drain hose and inlet hose through the utility hole. - Page 6 The drawer will need to be securely supported at a height even with the cavity. Bottom mount hole locations 10. Slide the left-hand runner back into the dishwasher. 11. Make sure chassis position is still aligned and mark holes in the bottom (if using bottom mount option).
-
Page 7: Install The Drain Hose
IMPORTANT: A drain loop must be provided as shown in the Installation Instructions. Keep hoses as fully extended as possible to prevent sagging. Any excess length of hose should be kept on the dishwasher side of the drain loop. 27-1/2" – 32-1/4" (70 cm – 82 cm) 6"... -
Page 8: Connect To Water Supply
6. Push the front panel down to lock in place. 7. When installed properly, the panel should be even with the top of the dishwasher. flat seal washer inlet hose Install Drawer Front Panel... - Page 9 " 9. Remove the pins on both sides of the dishwasher drawer by (6.4 mm) NOTE: Do not cut pulling the pins straight out with a pair of needle-nose pliers.
-
Page 10: Complete Installation
1. Check that all parts are now installed. If there is an extra part, go back through the steps to see which step was skipped. 2. Check that the dishwasher is level, securely fastened to the cabinetry and opens and closes freely with no resistance from the cabinetry. -
Page 11: Sécurité Du Lave-Vaisselle Tiroir
Table des matières Sécurité du lave-vaisselle tiroir ..... . . 11 Exigences d'installation ......12 Outillage et pièces. -
Page 12: Exigences D'installation
Outillage et pièces Rassembler les outils et pièces nécessaires avant de commencer l'installation. Lire et suivre les instructions fournies avec les outils indiqués ici. Outillage nécessaire : ■ ■ ■ couteau utilitaire ■ pince à bec effilé ■ ■ mètre-ruban ■... -
Page 13: Spécifications De L'alimentation En Eau
Placard- Dimensions respecter à installation plan de travail typique ruban adhésif jusqu’à " (12,7 mm) de l’avant du plan de travail ruban adhésif anti-humidité trou pour passage des 19 " tuyaux et du câble : (50,5 cm) dia 1 " (3,8 cm) d’un côté... -
Page 14: Instructions D'installation
L’appareil doit être alimenté uniquement par un circuit de 120 V CA (60 Hz), protégé par fusible de 15 A (disjoncteur ou fusible temporisé de préférence). Il est recommandé que l’appareil soit alimenté par un circuit indépendant. INSTRUCTIONS D'INSTALLATION Préparation de la cavité d’installation 1. - Page 15 3. Pour les modèles avec panneau avant déjà en place, pousser le lave-vaisselle en place et aligner le panneau avant avec les placards adjacents. 4. Ouvrir doucement le tiroir, juste assez pour marquer l’overture du châssis dans l’espace d’installation. marquer l'ouverture du châssis 5.
-
Page 16: Raccordement À La Canalisation D'évacuation
Option 1 : Fixation du lave-vaisselle (montage latéral) 1. Réinstaller temporairement le tiroir et retirer l'ensemble du lave-vaisselle de la cavité. 2. Percer un avant-trou de 3/16" à chacun des 3 emplacements marqués. 3. Replacer le lave-vaisselle dans l'ouverture et réaligner avec le repère du châssis. -
Page 17: Raccordement À La Source D'alimentation En Eau
Option 2 : Connexion sur le broyeur à déchets 1. Acheminer le tuyau d’évacuation comme l’indique l’illustration ci-dessous. Placer les tuyaux sur les supports. 2. Déterminer s’il est nécessaire de tailler les segments du tuyau d’évacuation. Effectuer maintenant ces opérations si nécessaire. - Page 18 Installation du panneau avant du tiroir Option 1 : Installation du panneau avant standard (sur certains modèles) 1. Retirer le panneau avant de l’emballage et jeter les matériaux d’emballage. 2. Enlever le ruban adhésif fixant le connecteur et les conducteurs du panneau. Jeter le ruban adhésif. 3.
- Page 19 6. Sur la surface arrière du panneau avant, mesurer et tracer les lignes de positionnement verticale et horizontale. " (36,5 mm) 7. Monter la poignée sur le panneau personnalisé. Les vis ne doivent pas traverser la face arrière du panneau. Fraiser les trous.
-
Page 20: Achever L'installation
Consulter la section “Dépannage” dans le Guide d’utilisation et d’entretien. 8573714B © 2006 KitchenAid ® Marque déposée/™ Marque de commerce de KitchenAid, U.S.A., KitchenAid Canada porteur de licence au Canada Benton Harbor, Michigan 49022 Printed in New Zealand Imprimé en Nouvelle-Zélande...


