Advertisement
Advertisement
Table of Contents

Summary of Contents for Electrolux BR3000
- Page 1 BR3000 breadmaker...
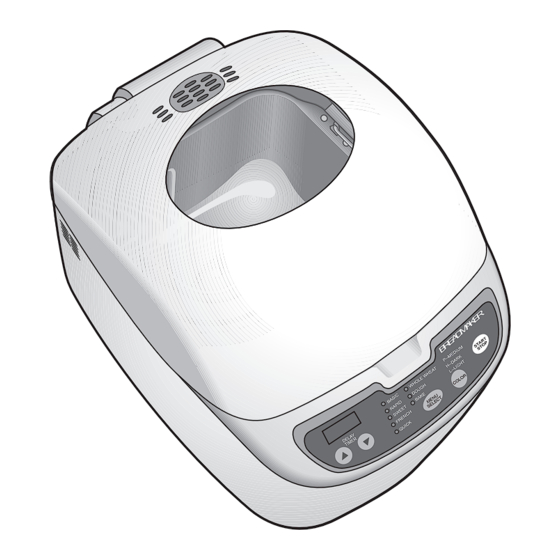
- Page 2 Know your breadmaker Please read these instructions before using your breadmaker. Information 1. Lid 2. Plug 3. Bread pan 4. Baking chamber 5. Bread pan handle 6. Kneading blade 7. Vents 8. Control panel Also included: Measuring cup Spoon...
- Page 3 Information and advice Safety warnings and correct procedures. Your breadmaker should be used in Your breadmaker must not be used near or such a way that it is protected from below curtains or other combustible moisture. e.g. condensation, splashed water materials.
-
Page 4: White Loaf
Preparing ingredients for a white loaf Check quantities of ingredients carefully. Information All ingredients should Remove the plug from the mains Clean the surface of the Make sure that the kneading be at room temperature socket. Open up your breadmaker with a damp cloth blade is securely positioned on º... - Page 5 Information Make sure that the Pour 600g of strong, bread Put two level tablespoons (15g) Make a small hole in the mound of bread pan is making flour into the bread pan. of milk powder into the bread flour and put four level teaspoons pan.
-
Page 6: Using Different Baking Settings
Using different baking settings Information When using the timer Press the MENU SELECT button Press the color button to select You can add ingredients into feature for more than a continuously on the control panel one of the following crust your bread pan and set the couple of hours during to select one of the following... - Page 7 Removing the bread pan Always use oven gloves when the breadmaker is hot. Information The keep warm setting When baking is finished the unit Lift the lid of the breadmaker Remove the bread from the pan will automatically will signal and the display will using oven gloves and remove as soon as possible after continue to keep bread...
- Page 8 Using other recipes The recipes in this book have been created in collaboration with Allinson. Information If you would like further information on BRIOCHE ITALIAN POLENTA STICKS WHEATY YOGHURT BREAD breadmaking please call the Allinson Baking 3/8 cup of butter (softened) 1 1/8 cups water 3/4 cup water 1 3/8 cups Allinson strong white...
- Page 9 Tips for improved breadmaking Tips to help you improve your breadmaking. Ingredients: Use only fresh ingredients. Eggs: If you wish to add an egg to a recipe that Information does not include eggs, crack the egg into a Timer: When using the timer for delayed baking measuring cup and fill with water to the level in warm weather conditions, you may need to specified in the recipe.
-
Page 10: Troubleshooting
Troubleshooting Fixing problems that may occur when making bread Problem Cause Solution The unit does not operate after The unit is unplugged? Plug into an electrical socket. Information pressing the Start/Stop button. Setting was not selected? Select the setting that you require Never use scouring pads or from the setting menu. - Page 11 Wiring instructions Specifications: 230-240V ~ 50Hz 715-770W The wires in your breadmaker’s power cord are coloured as follows: The wire which is coloured Green and Yellow must be connected to the terminal in the plug which is marked with the letter E or by the Earth symbol, or coloured Green or Green and Yellow.


