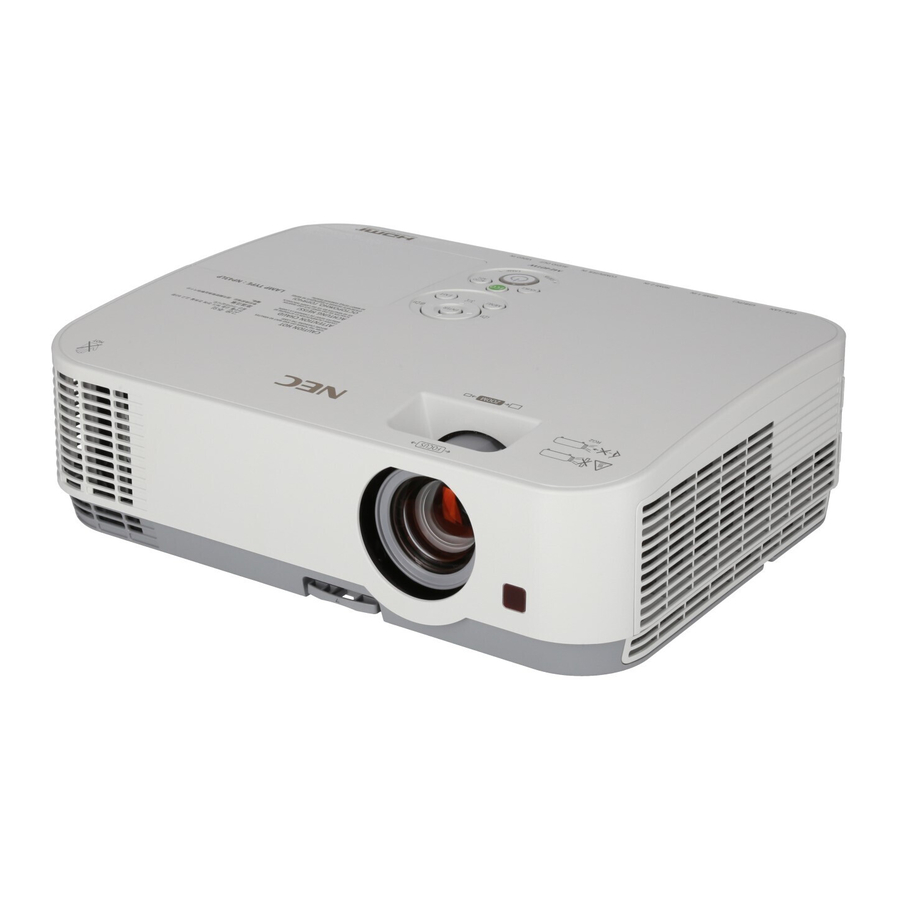
NEC ME401W, ME361W, ME331W, ME301W, ME401X, ME361X, ME331X, ME301X Quick Setup Guide
Also See for ME401W:
- User manual (133 pages)
Advertisement
Table of Contents
NEC ME401W, ME361W, ME331W, ME301W, ME401X, ME361X, ME331X, ME301X Quick Setup Guide

Quick Setup Guide
- Connect your computer to the projector using the supplied computer cable (VGA).
- Connect the supplied power cord.
![NEC - ME401W - Connecting the supplied power cord Connecting the supplied power cord]()
- Remove the lens cap.
![]()
- Turn on the projector.
Press the![]() (POWER) button on the projector cabinet or the POWER ON button on the remote control.
(POWER) button on the projector cabinet or the POWER ON button on the remote control.
![NEC - ME401W - Turning on the projector Turning on the projector]()
NOTE: The color of the POWER indicator
![NEC - ME401W - Turning on - The color of the POWER indicator Turning on - The color of the POWER indicator]()
- Select a source.
![NEC - ME401W - Selecting a source Selecting a source]()
TIP: Press the AUTO ADJ. button to optimize an RGB image automatically.
![]()
- Adjust an image size and position.
[Throw angle (Tilt foot)]
![]()
- Lift the front edge of the projector.
- Push up and hold the Adjustable Tilt Foot Lever.
- Lower the front of the projector to the desired height.
- Release the Adjustable Tilt Foot Lever.
TIP: Automatic Keystone Correction function is turned on at the time of shipment.
[FOCUS]
Turn the focus ring.

[ZOOM]
Turn the zoom lever.

- Turn off the projector.
- Press the
![]() (POWER) button on the projector cabinet or the STANDBY button on the remote control.
(POWER) button on the projector cabinet or the STANDBY button on the remote control.
![NEC - ME401W - Turning off the projector - Using the POWER Button Turning off the projector - Using the POWER Button]()
![NEC - ME401W - Turning off the projector - Using a standby Button Turning off the projector - Using a standby Button]()
- Press either the
![]() (POWER) or the STANDBY button again.
(POWER) or the STANDBY button again. - Mount the lens cap.
- Disconnect all the cables.
- Press the
NOTE: The color of the POWER indicator


Documents / ResourcesDownload manual
Here you can download full pdf version of manual, it may contain additional safety instructions, warranty information, FCC rules, etc.
Download NEC ME401W, ME361W, ME331W, ME301W, ME401X, ME361X, ME331X, ME301X Quick Setup Guide
Advertisement
Thank you! Your question has been received!


Need Assistance?
Do you have a question about the ME401W that isn't answered in the manual? Leave your question here.